Quick start with Webtools
Install Composer
ubiquity utilizes Composer to manage its dependencies. So, before using, you will need to make sure you have Composer installed on your machine.
Install Ubiquity-devtools
Download the Ubiquity-devtools installer using Composer.
composer global require phpmv/ubiquity-devtools
Test your recent installation by doing:
Ubiquity version

You can get at all times help with a command by typing: Ubiquity help followed by what you are looking for.
Example :
Ubiquity help project
Project creation
Create the quick-start projet with Webtools interface (the -a option)
Ubiquity new quick-start -a
Directory structure
The project created in the quick-start folder has a simple and readable structure:
the app folder contains the code of your future application:
app
 ├ cache
 ├ config
 ├ controllers
 ├ models
 └ views
Start-up
Go to the newly created folder quick-start and start the build-in php server:
Ubiquity serve
Check the correct operation at the address http://127.0.0.1:8090:
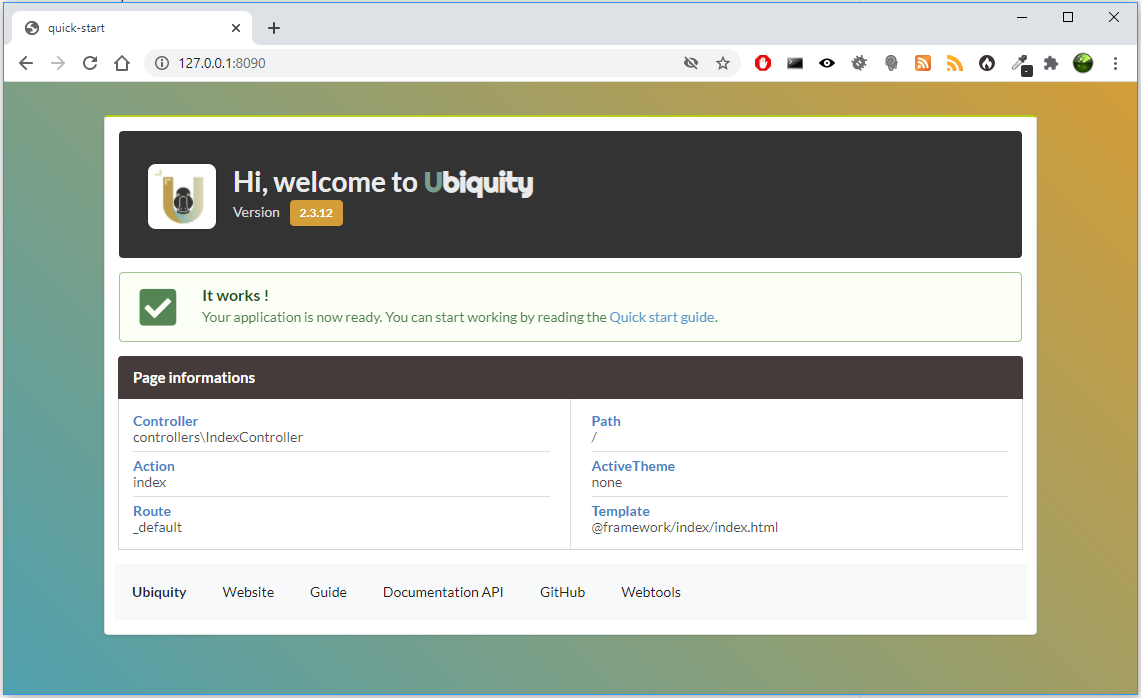
Note
If port 8090 is busy, you can start the server on another port using -p option.
Ubiquity serve -p=8095
Controller
Goto admin interface by clicking on the button Webtools:

Select the tools you need:

The web application Webtools saves time in repetitive operations.

We go through it to create a controller.
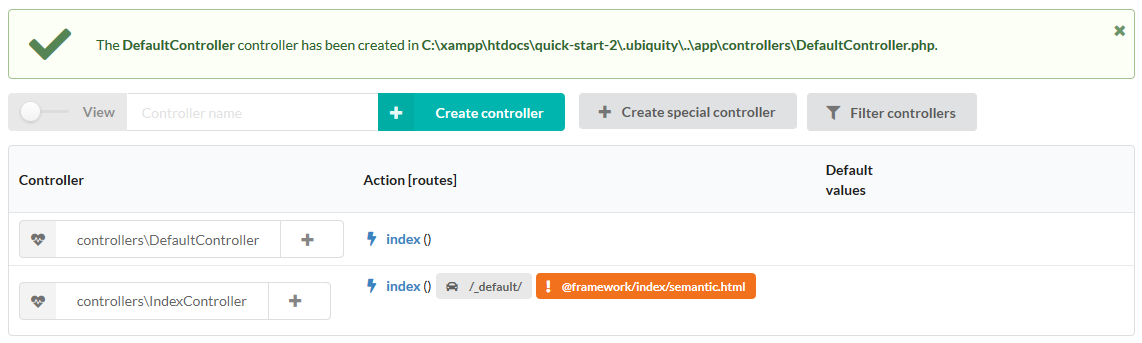
Go to the controllers part, enter DefaultController in the controllerName field and create the controller:

The controller DefaultController is created:
We can then edit app/controllers/DefaultController file in our favorite IDE:
1 2 3 4 5 6 7 | namespace controllers;
/**
* Controller DefaultController
**/
class DefaultController extends ControllerBase{
public function index(){}
}
|
Add the traditional message, and test your page at http://127.0.0.1:8090/DefaultController
     class DefaultController extends ControllerBase{

             public function index(){
                     echo 'Hello world!';
             }

     }
For now, we have not defined routes,
Access to the application is thus made according to the following scheme:
controllerName/actionName/param
The default action is the index method, we do not need to specify it in the url.
Route
Important
The routing is defined with the annotation @route and is not done in a configuration file:
it’s a design choice.
The automated parameter set to true allows the methods of our class to be defined as sub routes of the main route /hello.
1 2 3 4 5 6 7 8 9 10 11 12 | namespace controllers;
/**
* Controller DefaultController
* @route("/hello","automated"=>true)
**/
class DefaultController extends ControllerBase{
public function index(){
echo 'Hello world!';
}
}
|
Router cache
Important
No changes on the routes are effective without initializing the cache.
Annotations are never read at runtime. This is also a design choice.
We can use the web tools for the cache re-initialization:
Go to the Routes section and click on the re-init cache button

The route now appears in the interface:
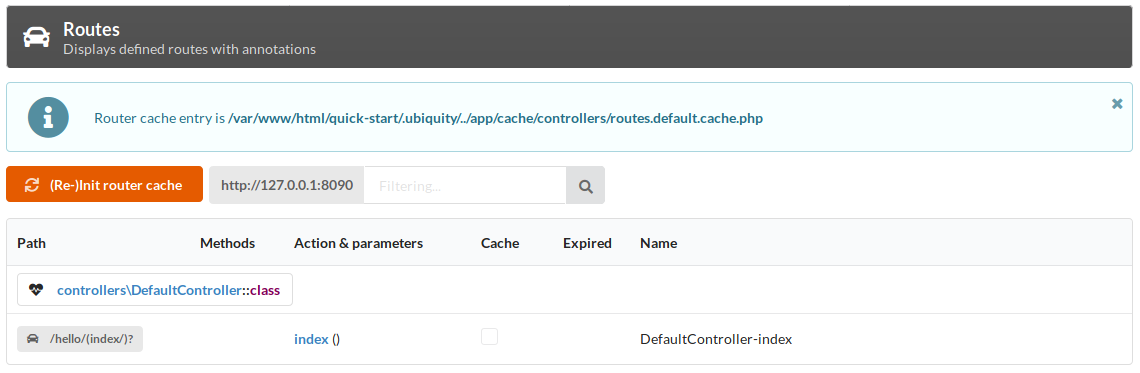
We can now test the page by clicking on the GET button or by going to the address http://127.0.0.1:8090/hello
Action & route with parameters
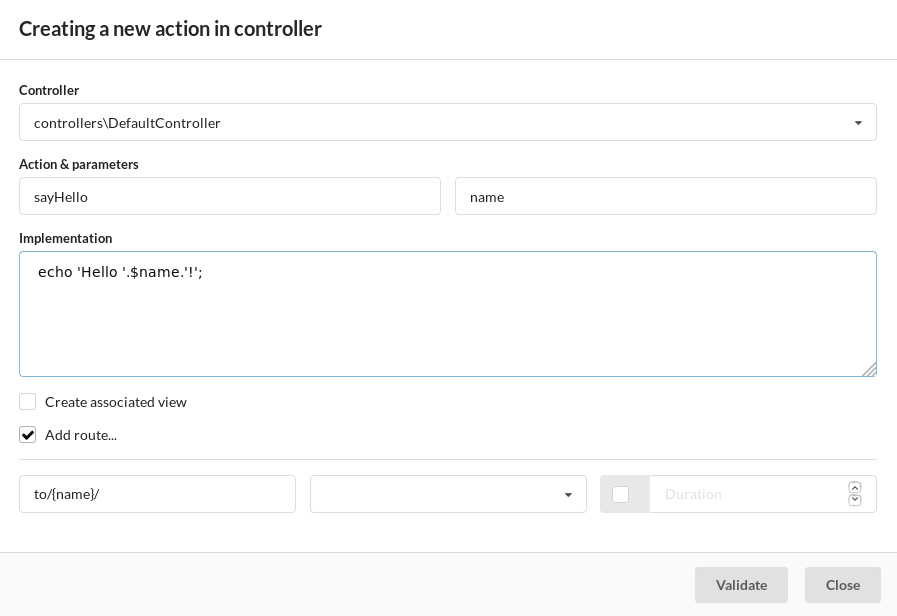
We will now create an action (sayHello) with a parameter (name), and the associated route (to):
The route will use the parameter name of the action:
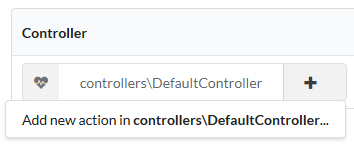
Go to the Controllers section:
- click on the + button associated with DefaultController,
- then select Add new action in.. item.
Enter the action information in the following form:
After re-initializing the cache with the orange button, we can see the new route hello/to/{name}:

Check the route creation by going to the Routes section:

We can now test the page by clicking on the GET button:
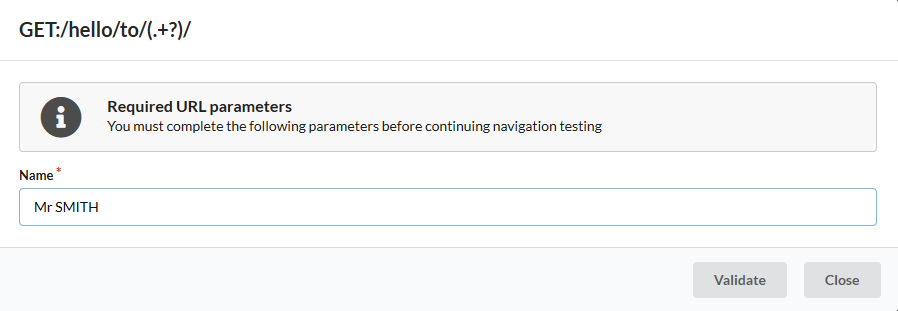
We can see the result:
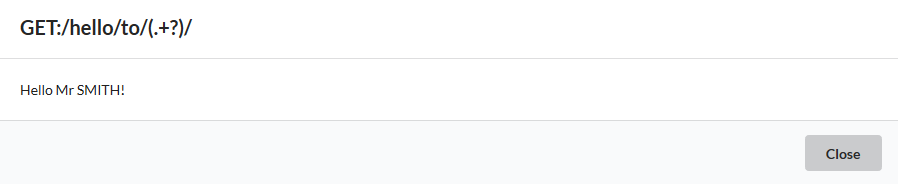
We could directly go to http://127.0.0.1:8090/hello/to/Mr SMITH address to test
Action, route parameters & view
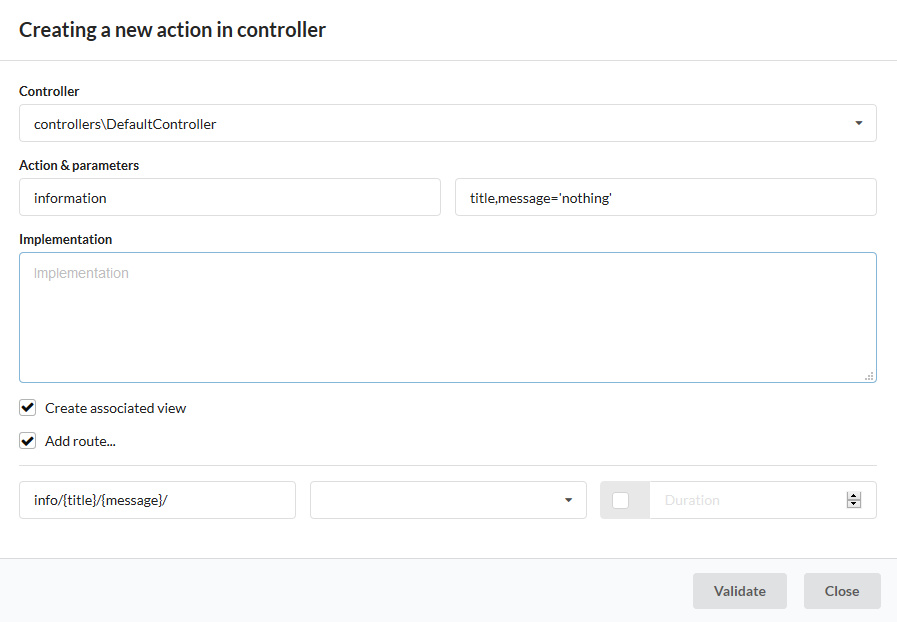
We will now create an action (information) with tow parameters (title and message), the associated route (info), and a view to display the message:
The route will use the two parameters of the action.
In the Controllers section, create another action on DefaultController:
Enter the action information in the following form:
Note
The view checkbox is used to create the view associated with the action.
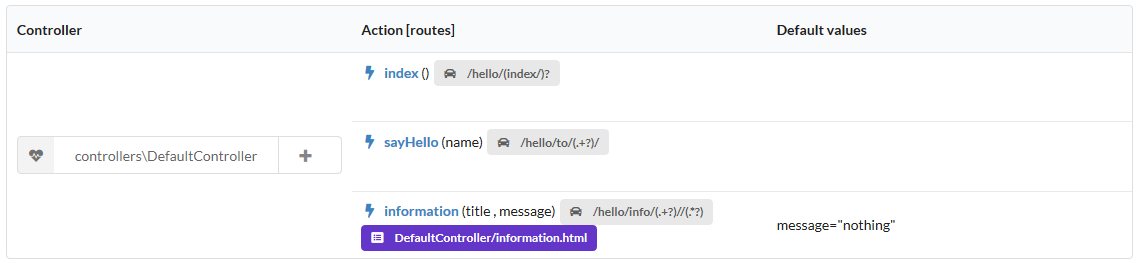
After re-initializing the cache, we now have 3 routes:
Let’s go back to our development environment and see the generated code:
     /**
      *@route("info/{title}/{message}")
     **/
     public function information($title,$message='nothing'){
             $this->loadView('DefaultController/information.html');
     }
We need to pass the 2 variables to the view:
/**
 *@route("info/{title}/{message}")
**/
public function information($title,$message='nothing'){
        $this->loadView('DefaultController/information.html',compact('title','message'));
}
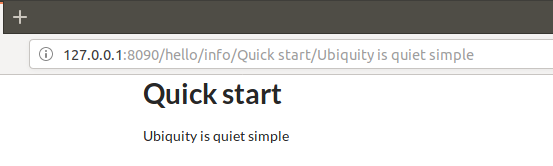
And we use our 2 variables in the associated twig view:
     <h1>{{title}}</h1>
     <div>{{message | raw}}</div>
We can test our page at http://127.0.0.1:8090/hello/info/Quick start/Ubiquity is quiet simple
It’s obvious